.png?width=200&height=80&name=Classic%20Experience%20(1).png)
Introduction:
For this integration we are going to be using an application called Zapier. Zapier allows us to sets triggers and actions according to what outcomes you need. In this case we will be using Zapier to trigger actions in Cascade from new activity in Nutshell CRM.
Setting Up Nutshell:
For this integration to work properly you will need to add a custom field in order to store the Cascade Goal ID in Nutshell later in the tutorial.
Navigate to the 'Setup' tab in Nutshell and proceed to create a new Lead Custom Field. You can call this field whatever you'd like, for this example we use 'cascade_goal_id':
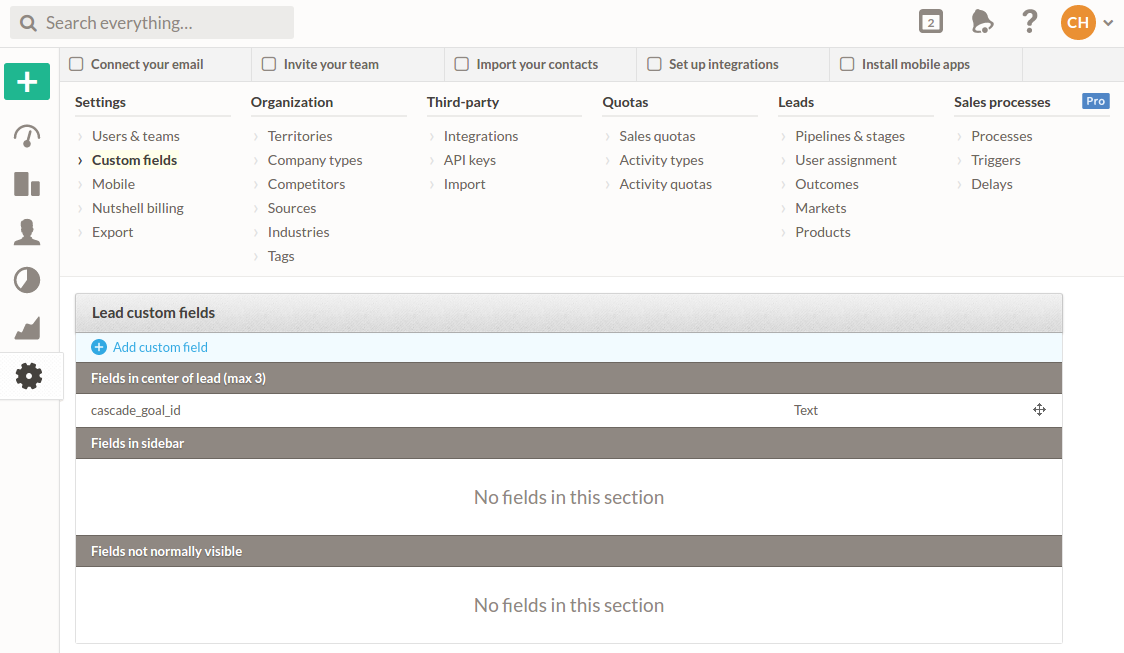
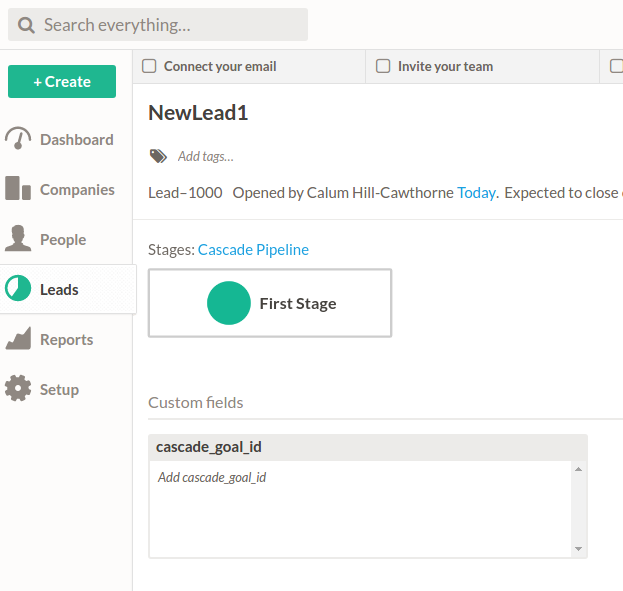
Now, every new Lead you create will be equipped with this custom field, it will be empty for now but we will fix that later:
Setting up the Zap:
A zap is just a stored procedure that performs custom actions based on a trigger. For example our zap will be triggered by a new lead/activity in Nutshell and then proceed to perform actions with Cascade.
Accessing the Zapier Dashboard:
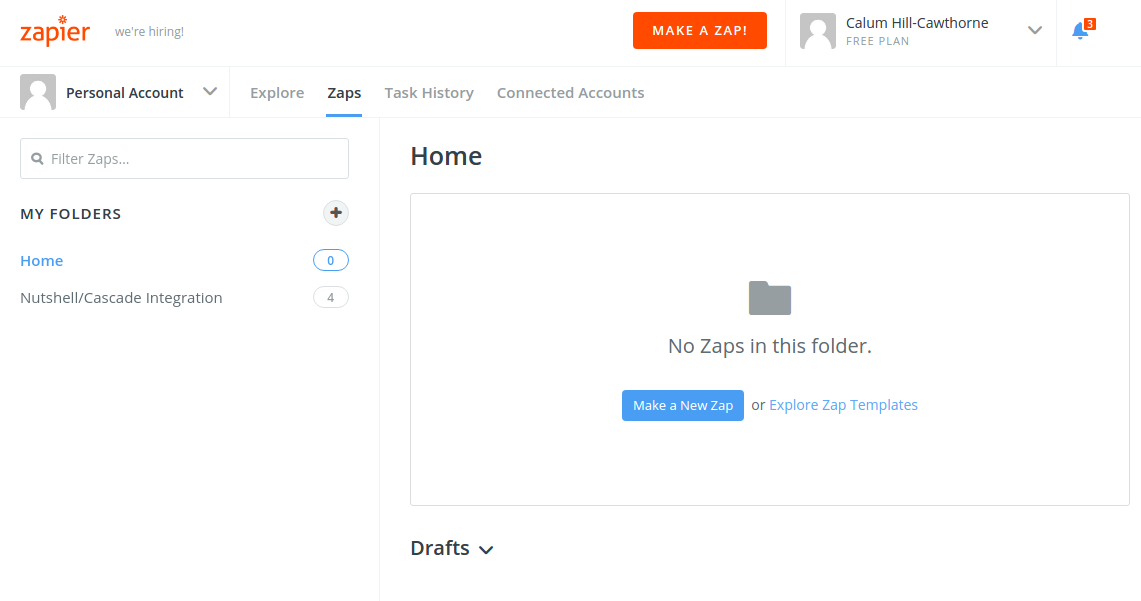
To setup a new integration in Zapier make sure that you first have a Zapier account verified via email. Once you have an account navigate to your dashboard, if you can’t find it just navigate to https://zapier.com/app/dashboard.
Your window should now look like this:
Creating the Zap:
To create the Zap click the large orange "MAKE A ZAP!" button to the left of your account navigation.
Once you've done this you will be taken to the Zap builder interface:
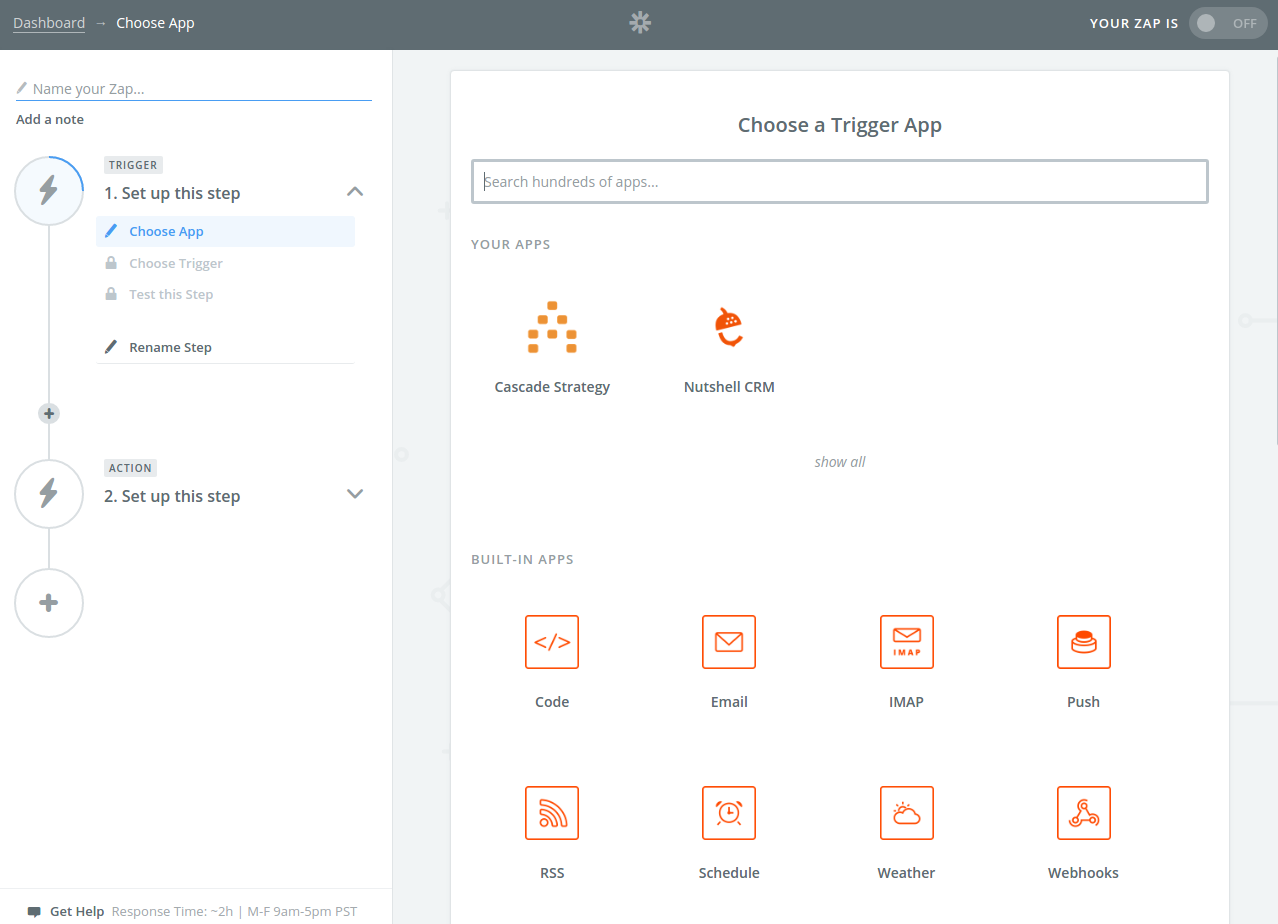
When you reach this interface screen make sure to name your Zap in the top right corner!
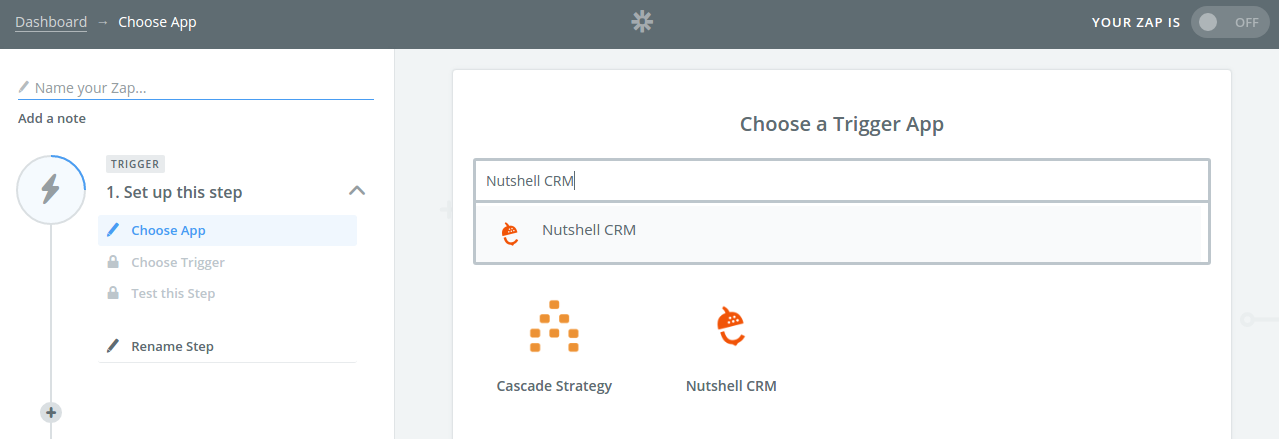
Setting up the Zap Trigger:
The trigger is the action in Nutshell that will tell Zapier to perform the rest of the actions. To add the Nutshell trigger simply search for "Nutshell CRM" and select it:
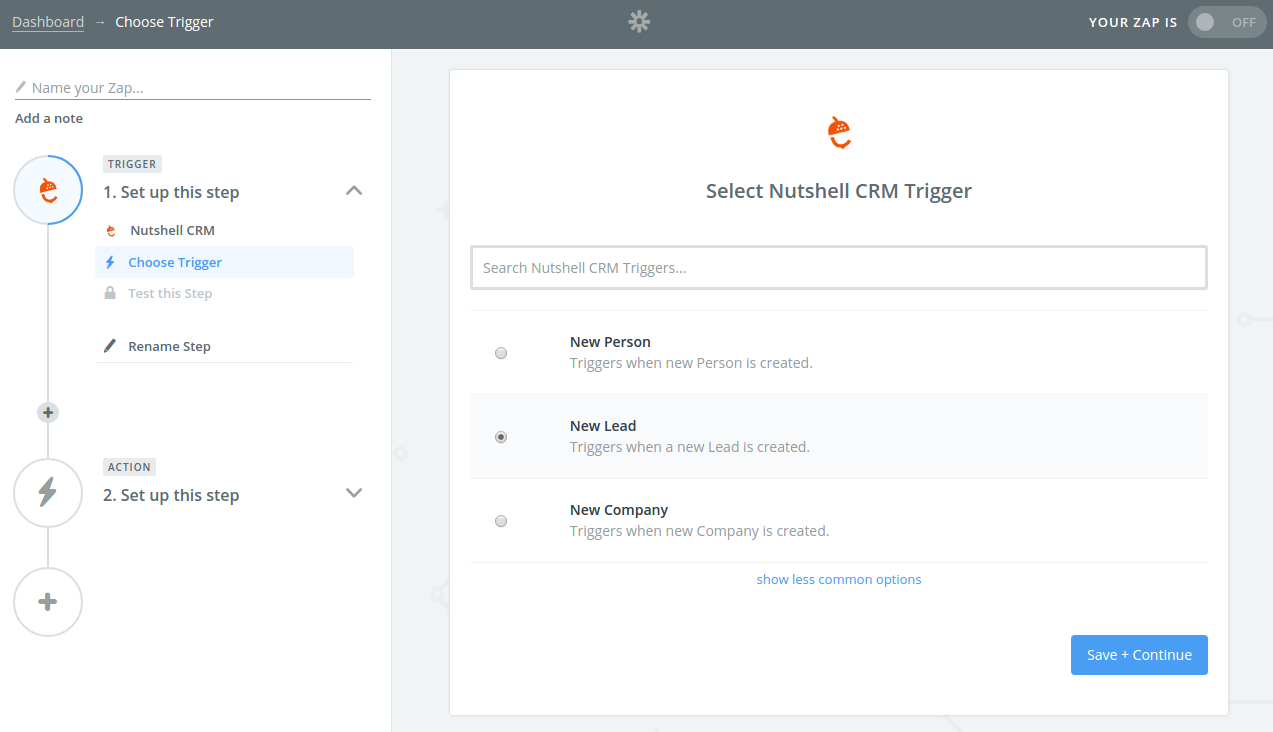
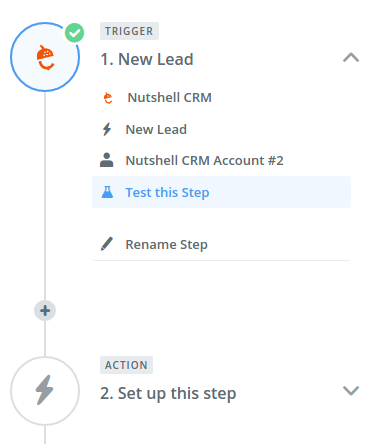
After selecting this you will then be asked to choose the action that you wish to trigger with Zapier, for this example we are going to use the "New Lead" action. (Second from the top):
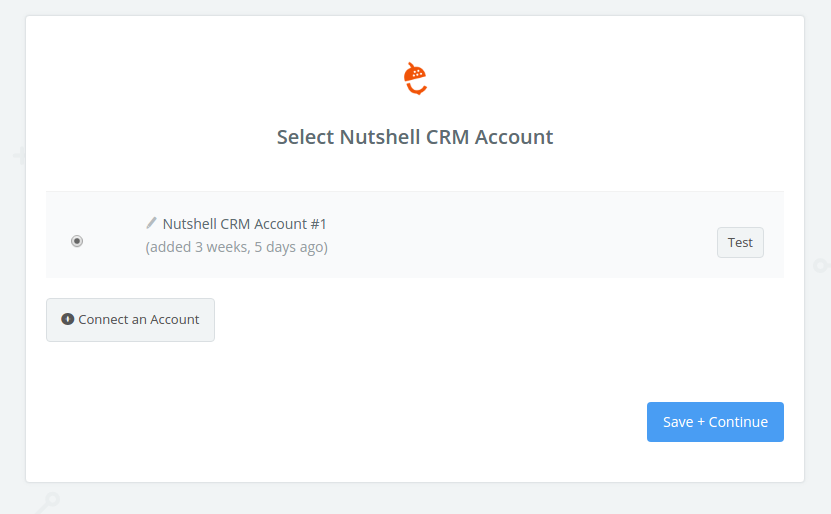
 After selecting the trigger activity by clicking 'Save + Submit', you will then be prompted to log into your Nutshell account. Click the 'Connect an Account' button and proceed to log in with your Nutshell account details:
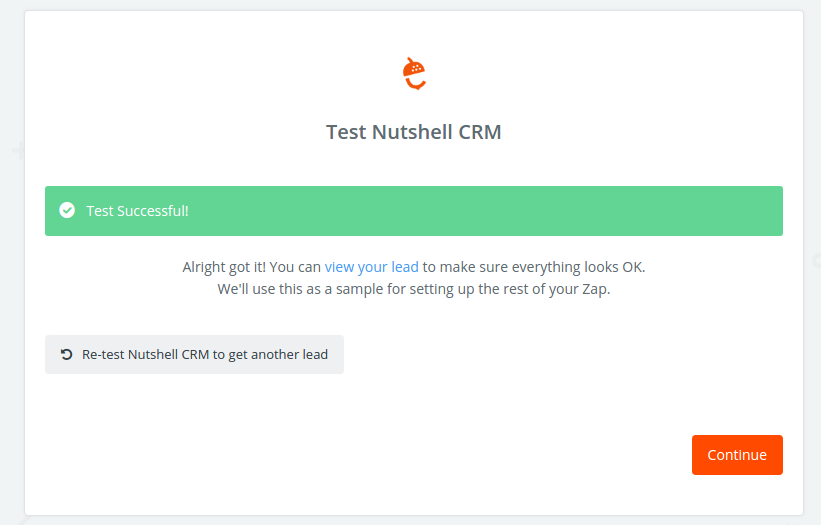
 After you are connected to your account it will take you to the test screen. For every action and trigger in Zapier you will always find this test screen. This step allows you to check if specific steps in your Zap are working, this helps a lot when trying to debug Zaps that aren't working correctly.
When you submit this step Zapier will either give you a success message or a failed message:
Filtering Triggers:
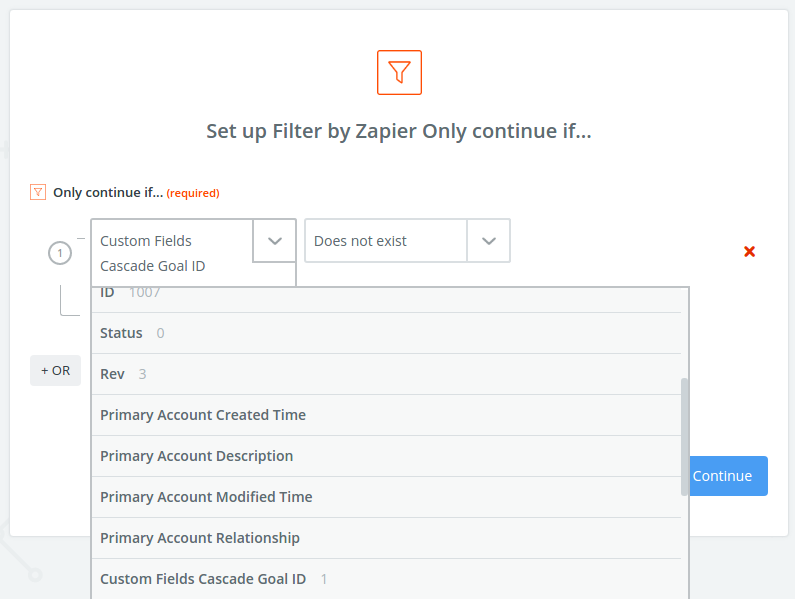
A filter is a step or action that in our case will prevent Leads with specific characteristics triggering the rest of the actions in the zap. For our zap we want to prevent Leads that have a pre-existing 'cascade_goal_id', to prevent the zap from creating duplicate Goals in Cascade.
To create this filter first select the 'Set up this step' option in the sidebar:
Then select 'Choose App' in the new menu: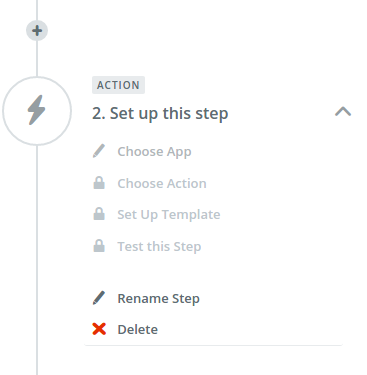
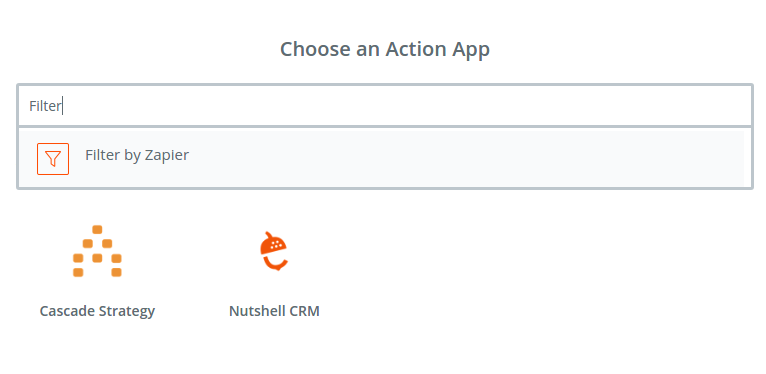
After navigating to the 'Choose App' section. Use the search field and find 'Filter by Zapier':
 After selecting filter, select the 'Only if...' option on the next screen and copy the configuration below:
Submit this stage and make sure that you have a recently created Lead in Nutshell that doesn't have a Cascade Goal ID set, otherwise you will not be able to test the steps after this filter properly. Testing isn't entirely necessary but it does allow you to see mistakes as you make them.
Formatting Dates:
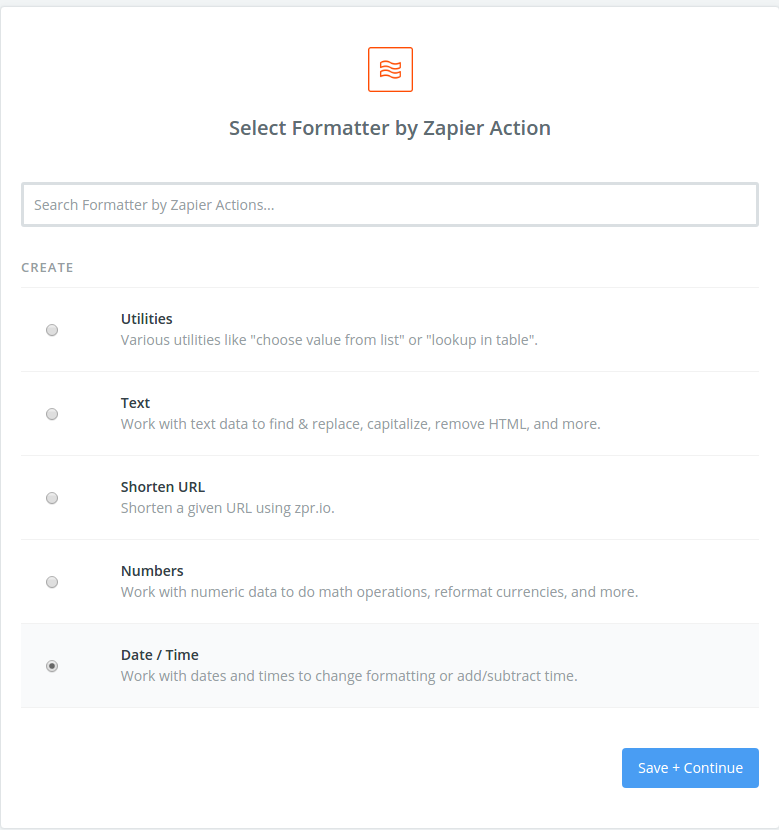
The reason we need to format the dates from Nutshell is because they aren't compatible with the date fields in our API interface. This is very simply done using the 'Formatter by Zapier' app. Like before add a new step to the Zap and make sure the step is using the Formatter.
When you've selected the Formatter, select the Date/Time option:
 Then copy the configuration below:
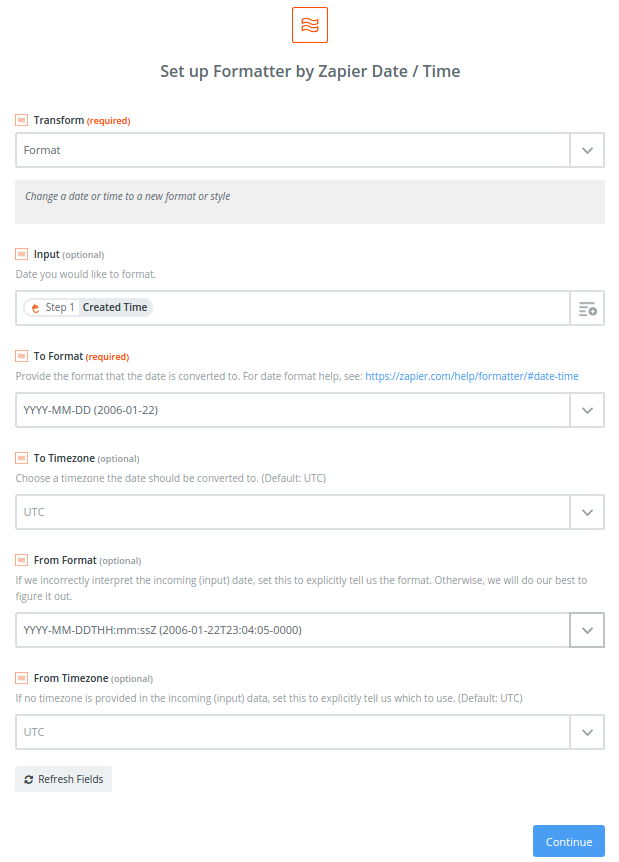
Once you've created this step in the Zap, make sure to create another formatter step to format the 'Due Date' of the Lead with exactly the same configuration as shown above.
Creating Fallback Values:
A fallback value is a default value for something if it is not explicitly defined. As Nutshell does not require a 'Due Date' or finish time, we have to create a fall back date in order to use the Cascade API.
To do this create a new step and choose the Formatter by Zapier app, and then select the 'Utilities' radio button. This will bring you to this screen:
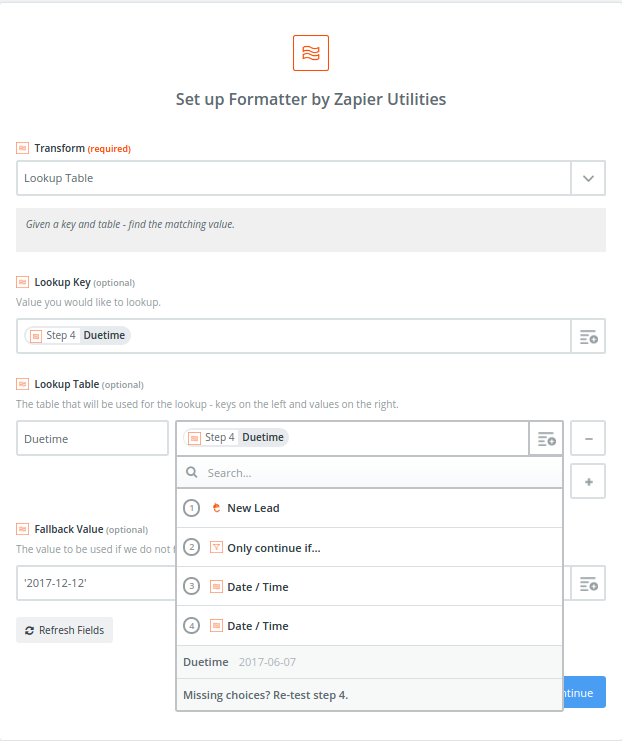
Make sure to use the Due Date that has been formatted by the previous step when copying this configuration.
Creating a Cascade Goal:
To create a new Cascade Goal create a new step and select the Cascade Strategy app, after doing this you should have 6 steps in total. Once you've signed into your account you will be taken to goal configurations:
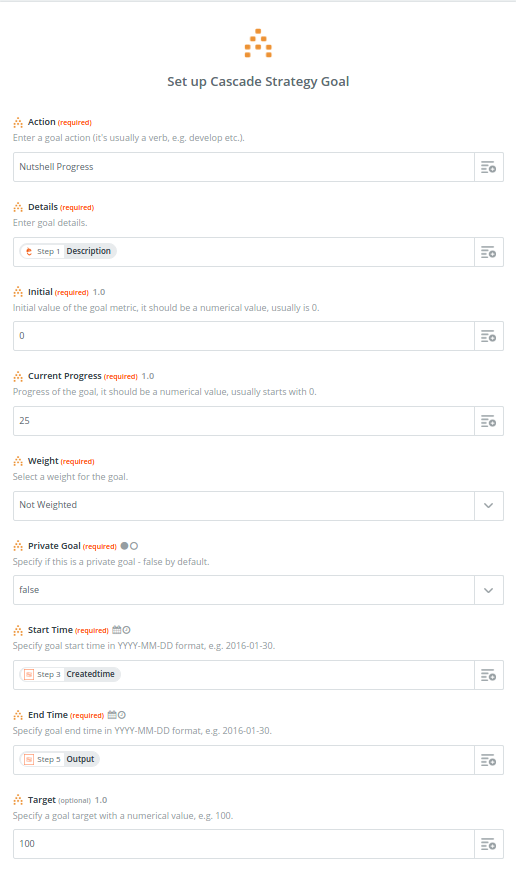
You can configure this stage how ever you'd like, but make sure to use the formatted created time, the due time from utilities and the description from the lead.
Adding the Cascade Goal ID to Nutshell:
To add the Goal ID to Nutshell we are going to use the custom field that we created earlier. To do this we are going to have to use a bit of code. Feel free to copy and paste this.
First you'll have to add a 'Code' step and select the Javascript option. Your configuration should be as follows:
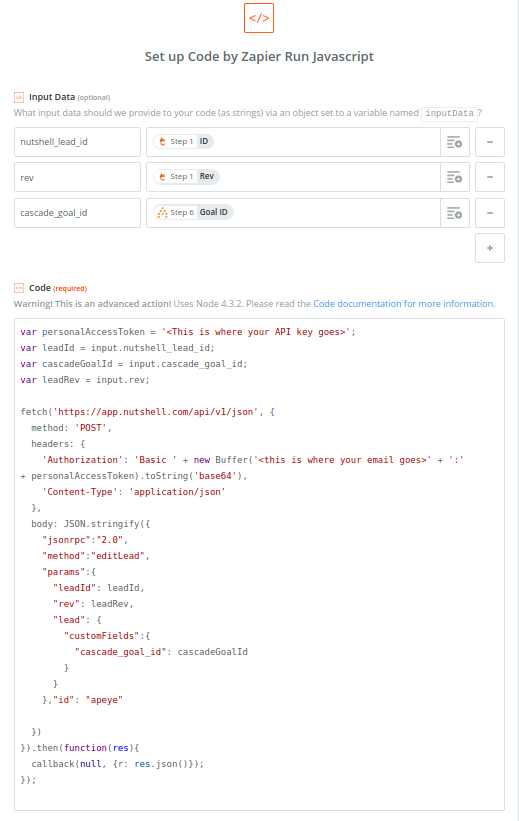
Here is the raw code:
var personalAccessToken = '<This is where your API key goes>';
var leadId = input.nutshell_lead_id;
var cascadeGoalId = input.cascade_goal_id;
var leadRev = input.rev;

fetch('https://app.nutshell.com/api/v1/json', {
  method: 'POST',
  headers: {
    'Authorization': 'Basic ' + new Buffer('<this is where your email goes>' + ':' + personalAccessToken).toString('base64'),
    'Content-Type': 'application/json'
  },
  body: JSON.stringify({
    "jsonrpc":"2.0",
    "method":"editLead",
    "params":{
      "leadId": leadId,
      "rev": leadRev,
      "lead": {
        "customFields":{
          "cascade_goal_id": cascadeGoalId
        }
      }
    },"id": "apeye"

  })
}).then(function(res){
  callback(null, {r: res.json()});
});
When using this script make sure include your Nutshell API key and the email associated with your Nutshell account. This script will add the Cascade Goal ID into the field that we created earlier.
Your integration from Nutshell to Cascade should now be up and running!