.png?width=200&height=80&name=Classic%20Experience%20(1).png)
Organization Units, or Org Units, as we like to call them, allow users to manage multiple plans while maintaining the hierarchy of the organization's structure. Org Units allow you to create multiple plans (such as departmental plans) and group Roles into specific divisions of your organization.
To set up your Org Units, go to Profile > Organization then click on the Org Units tab.
You can add new Org Units by clicking on the “Add Organization Unit” button. You will need to select a parent unit for new units, but you can continue creating as many units as you need in a multi-level hierarchy (to see this hierarchy, simply click the org tree icon next to the "Allow Plan" column).
Adding a New Org Unit:
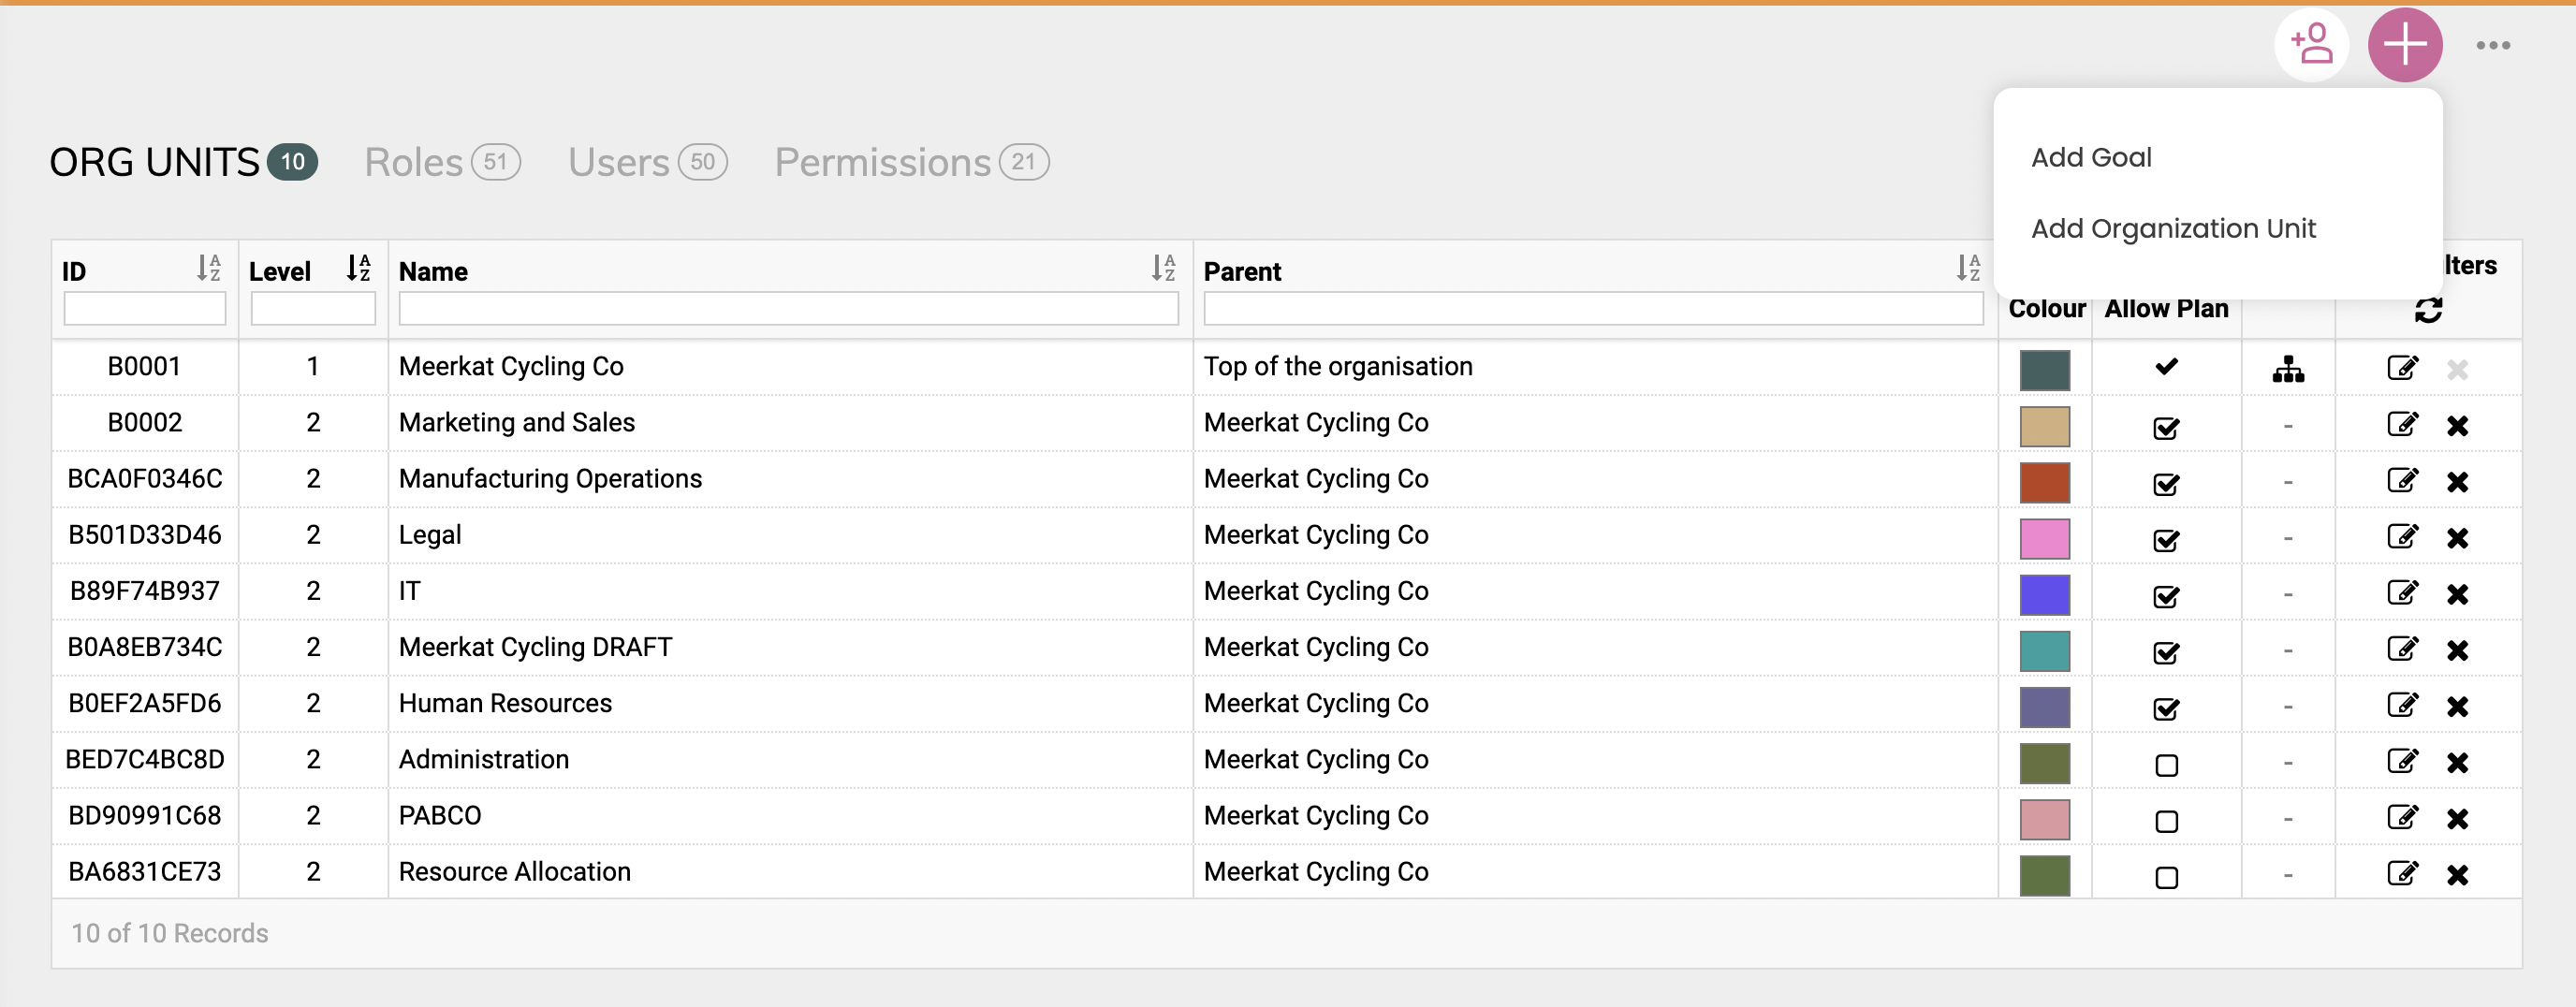
Just click the big plus button in the top right, then hit the 'Add Organization Unit' option and fill in the information in the following pop up. Make sure you check the box in the 'Allow Plan' column if you'd like to create a plan attached to that org unit.
Your first Org Unit will likely be at the ‘top’ of your organization and will be named after the organization name used during the initial setup of Cascade. You can edit the name of your Org Units by clicking on the edit icon on the right-hand side (or by double-clicking the name).
Note: Your Top Org Unit cannot be moved downwards, however, you can move any Org Unit upward to be at the top of your organization (as long as it has an enabled plan).
Enabling & Disabling an Org Unit:
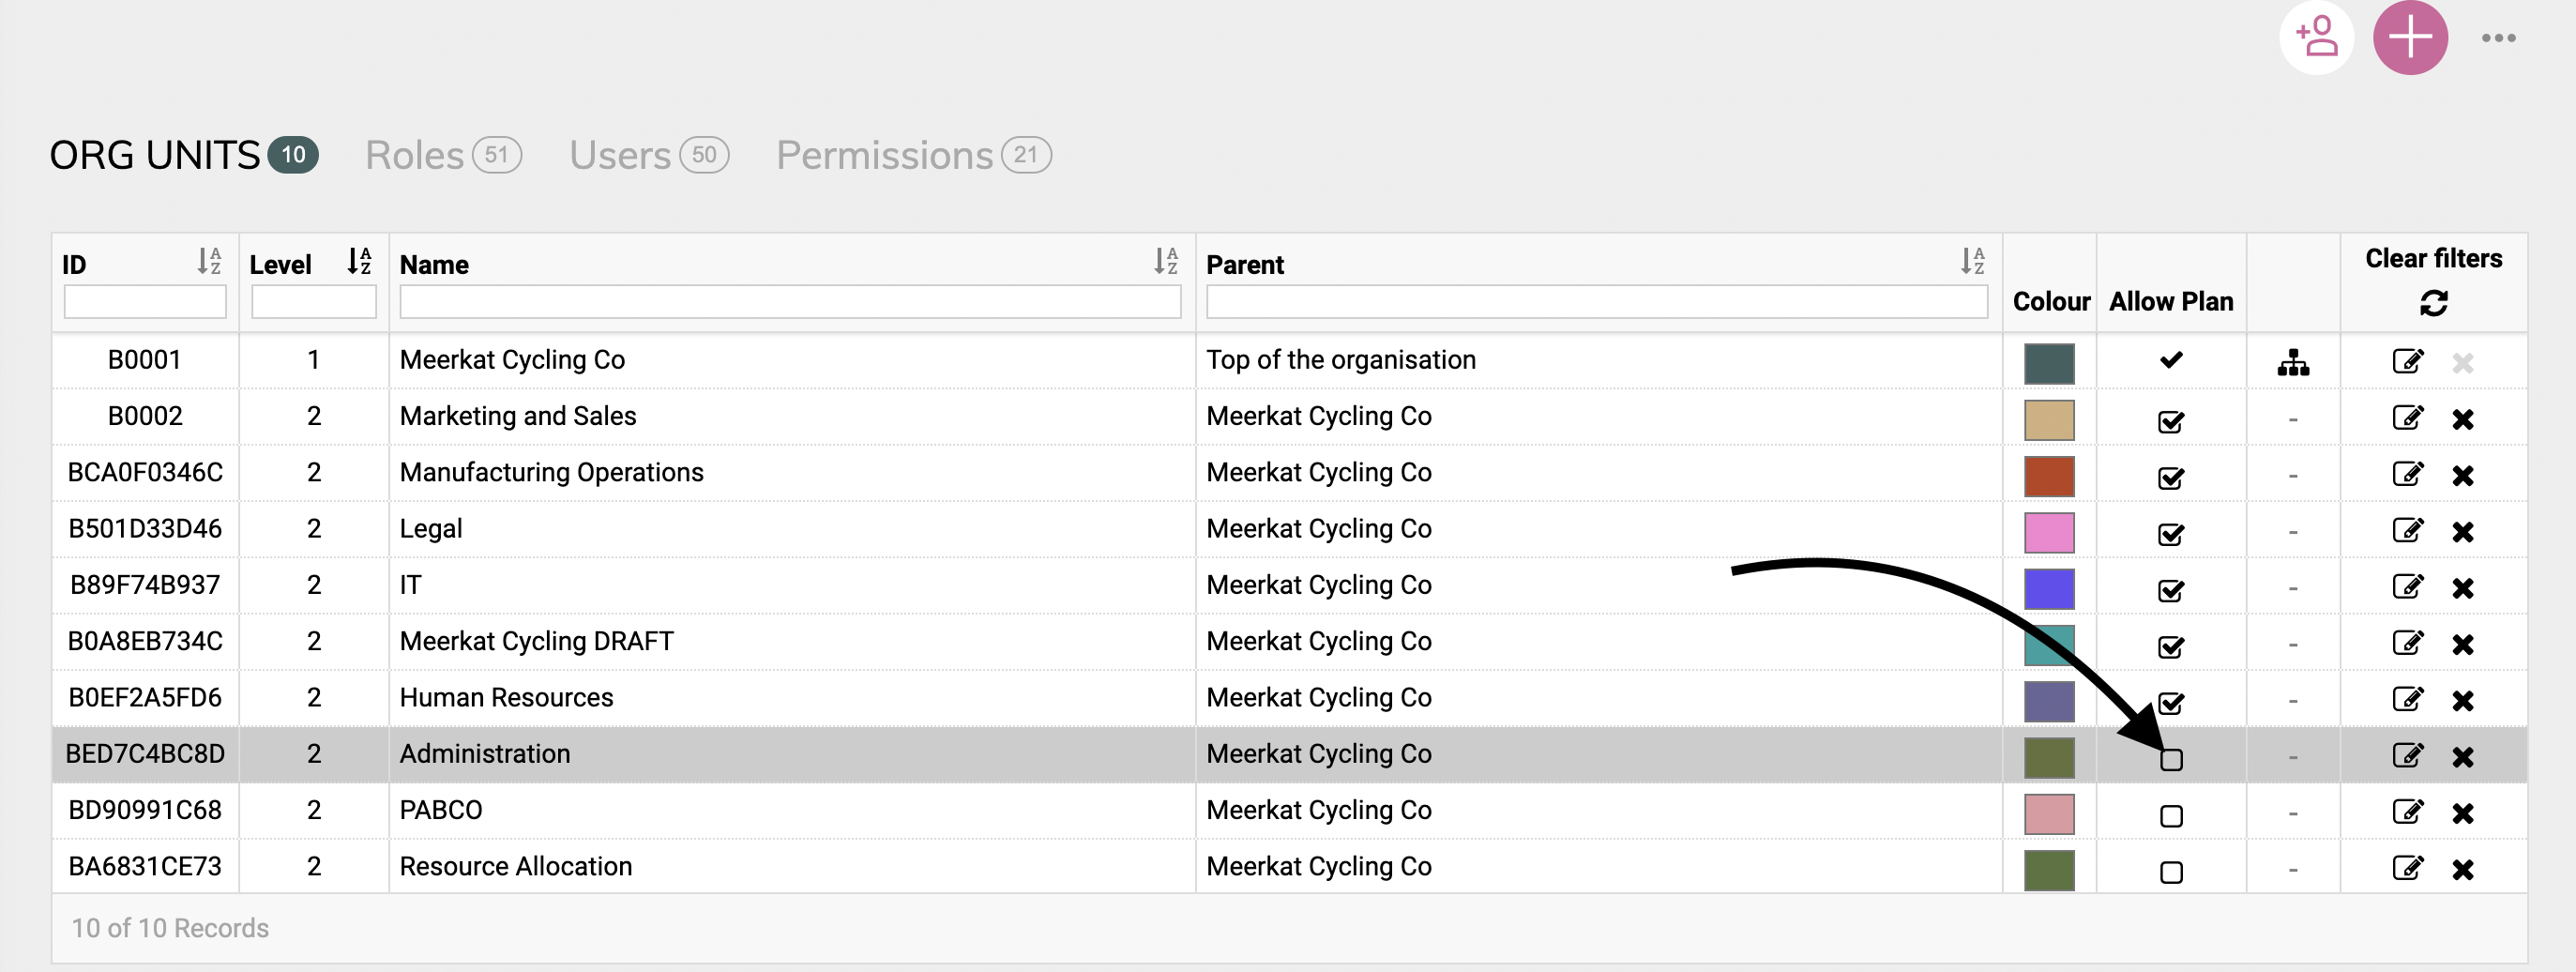
To enable or disable an Org Unit, just check the box in the 'Allow Plan' column.
To delete an Org Unit, click on the 'X' icon. An Org Unit must be disabled before it can be deleted.
Note: Additional Org Units are not required and may not be applicable for many smaller organizations. However, they can be very powerful when analyzing your data across the different sections of your organization.
Once your Org Units are in place, the next step is to add Roles (jobs) to the respective Org Units and flesh out your org chart.