.png?width=200&height=80&name=Classic%20Experience%20(1).png)
Introduction
For this integration, we are going to be using an application called Zapier to connect your Excel file to Cascade. With this automated process, you would no longer need goal owners to manually update each goal in Cascade. Instead, Zapier will automatically update your goals with data from your spreadsheet. This is especially valuable when your metric/KPI updates are many, or you are interested in frequent progress updates.
Setting Up Excel
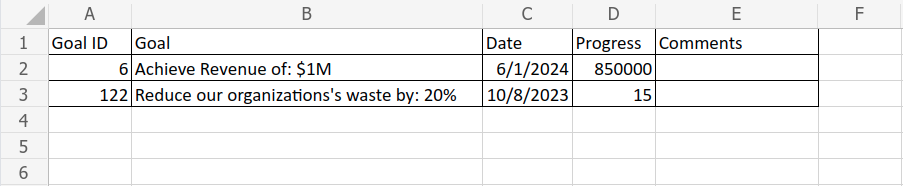
Create a new Excel spreadsheet and set up your sheet similar to the screenshot below. For updating a goal, the only columns that must be included are 'Goal ID' and 'Progress'. If you want to update goal progress, you must also include the 'Date' column. You can include any number of goals you like, just make sure to identify which goals you'd like to automatically update.
You can find a goal's ID by simply navigating in Cascade to a goal via your dashboard, GoalDeck, etc.. In the URL, you'll see 'modelid='. This is your Goal ID. For example, the goal ID in the following URL is 65: https://example.executestrategy.net/.....&modelId=65&.....
Note: You can also find goal IDs in bulk by using the 'Goal ID' column in either Snapshots (any user) or Bulk Edits (admins).
Setting up the Zap
Now we are going to set up the Zapier side of things. Make sure to register for an Zapier account at zapier.com. A free tier is offered that is adequate for most customer needs. (Upgraded tiers are available at very reasonable prices.)
1. Create the Zap and Set up Trigger
On your Zapier home screen, click the 'Create Zap' button. You'll then be taken to Zapier's builder interface. Name your Zap in the top left corner.
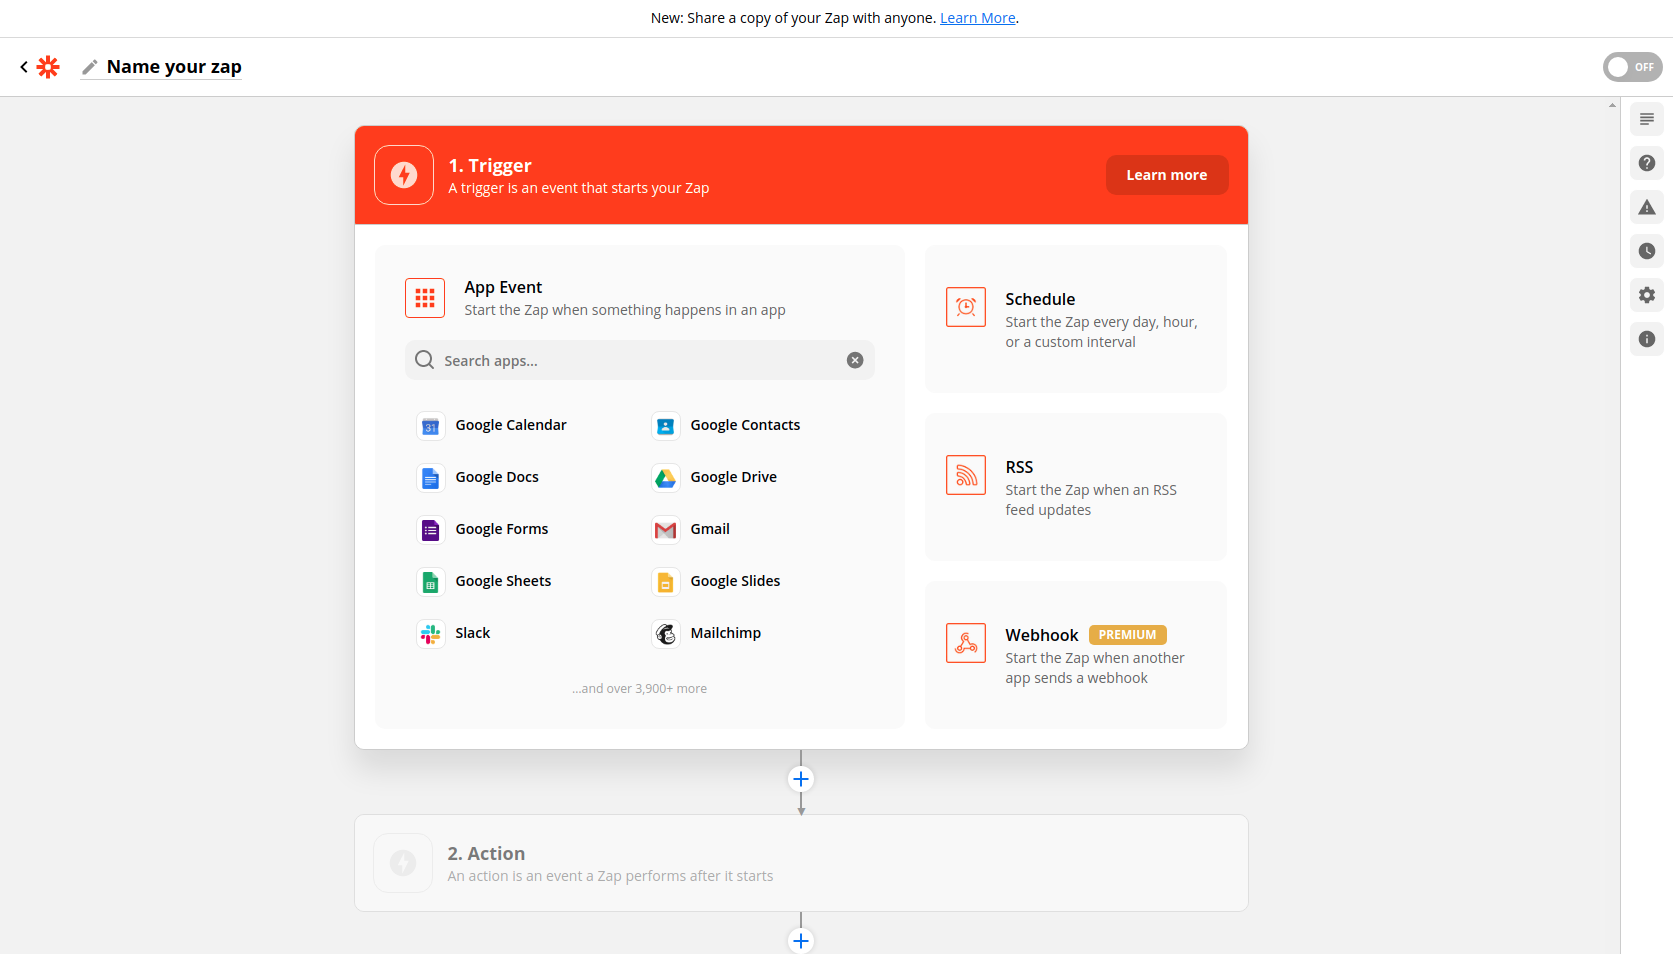
The trigger is the event that causes Zapier to run the Zap and perform the actions (in our case: updating Cascade). To add the trigger simply search for 'Excel' and select it from the search results.
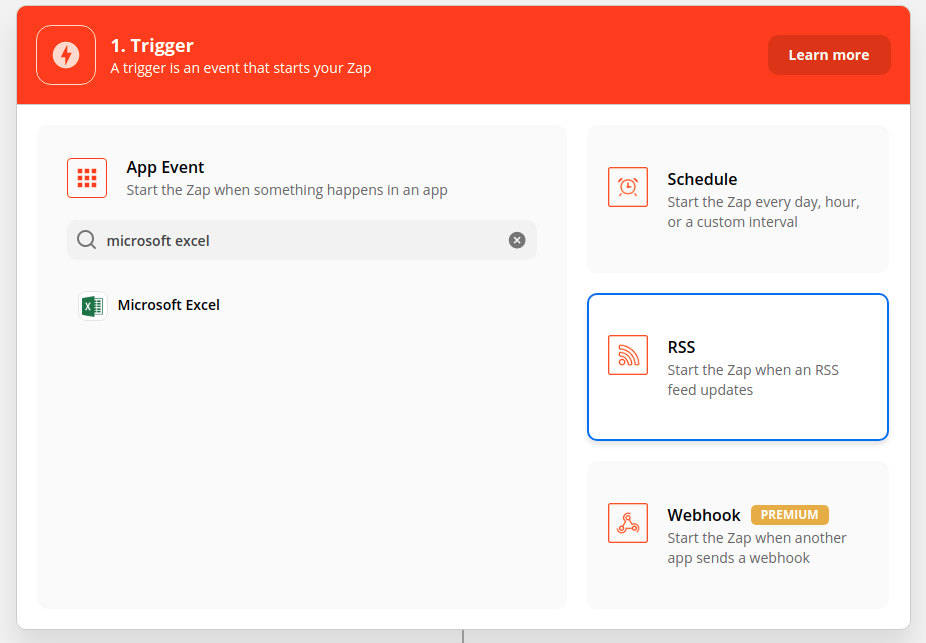
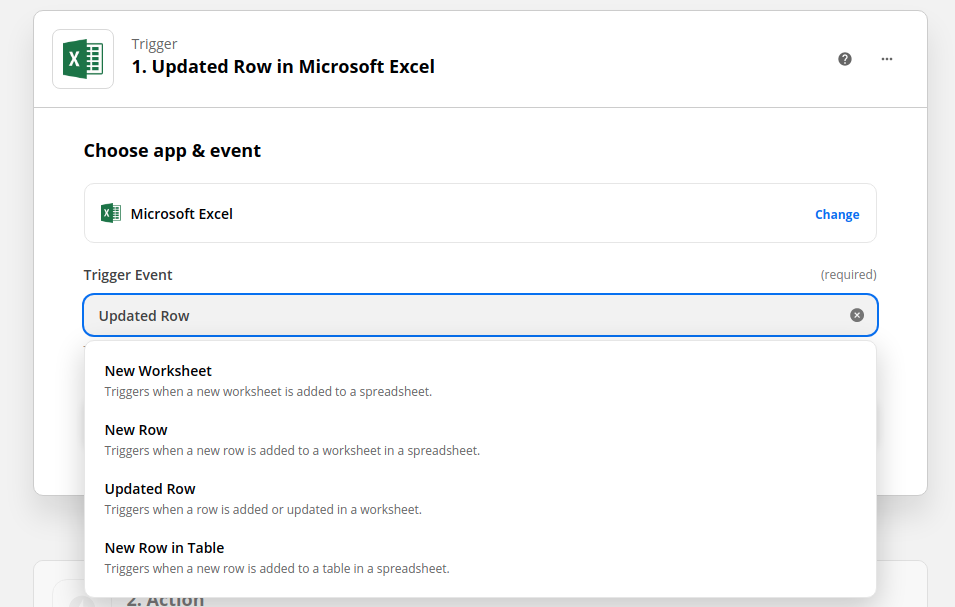
You will then be asked to choose the event that you wish to trigger with Zapier, for this example we are going to use the 'Updated Row' trigger.
Click 'Continue'. On the next page, you will need to sign in to your Microsoft account. Click 'Choose an Account', followed by 'Connect a New Account'.
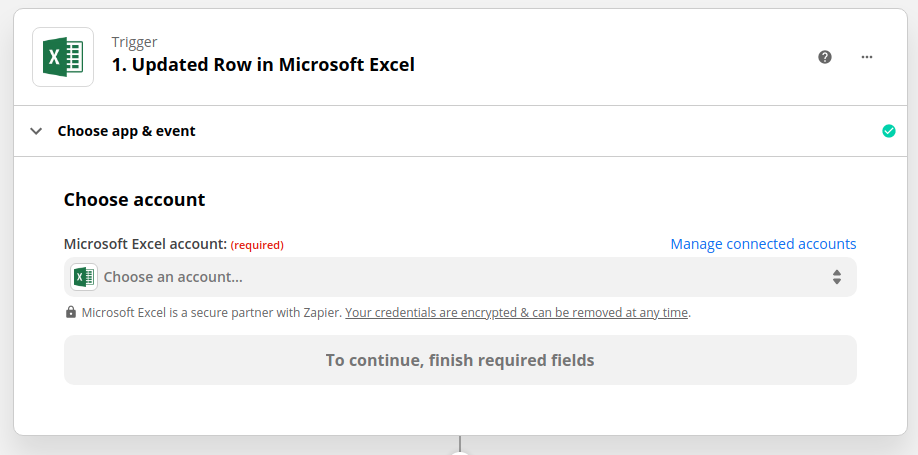
Sign in with your Microsoft credentials and accept the necessary permissions. Once your account is linked, click 'Continue'.
Now you are going to set up the trigger. Select your spreadsheet and worksheet in the drop down menus. For 'Trigger Column', you should typically select the 'Progress' column. The trigger column is the column that -- if updated -- will send that row's data to Cascade. In the case of updating a goal, the trigger column is typically 'Progress', as most customers want to update Cascade goals when the progress value is changed.
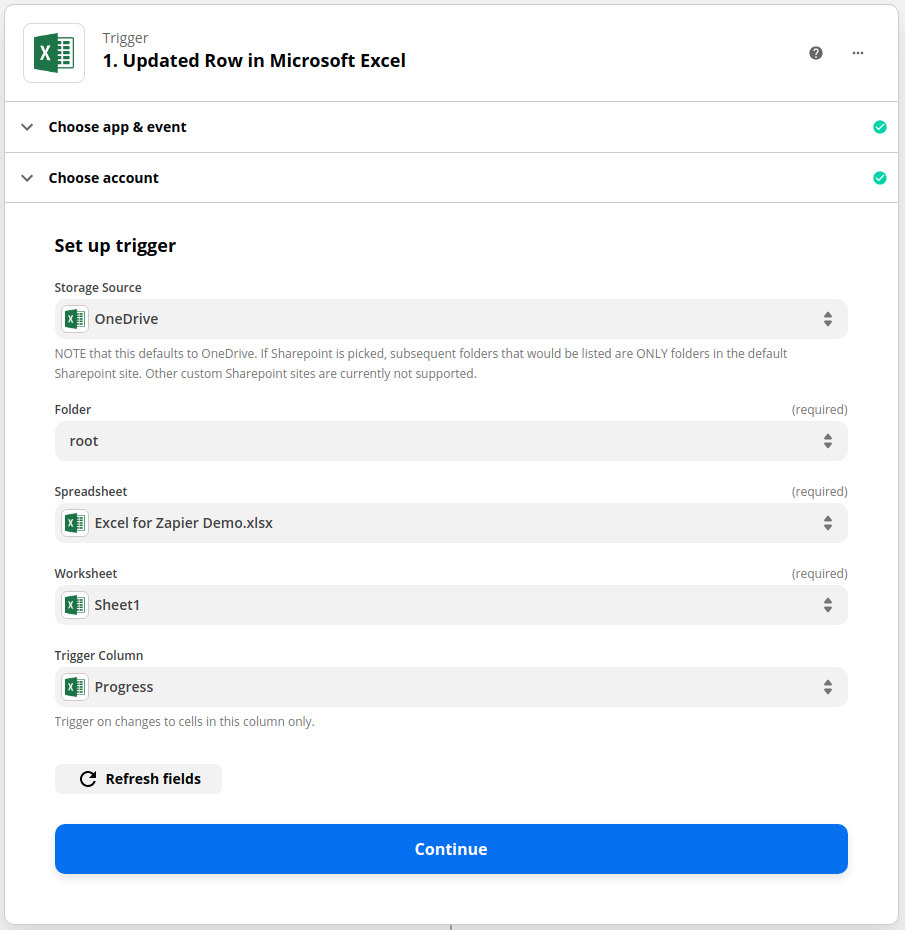
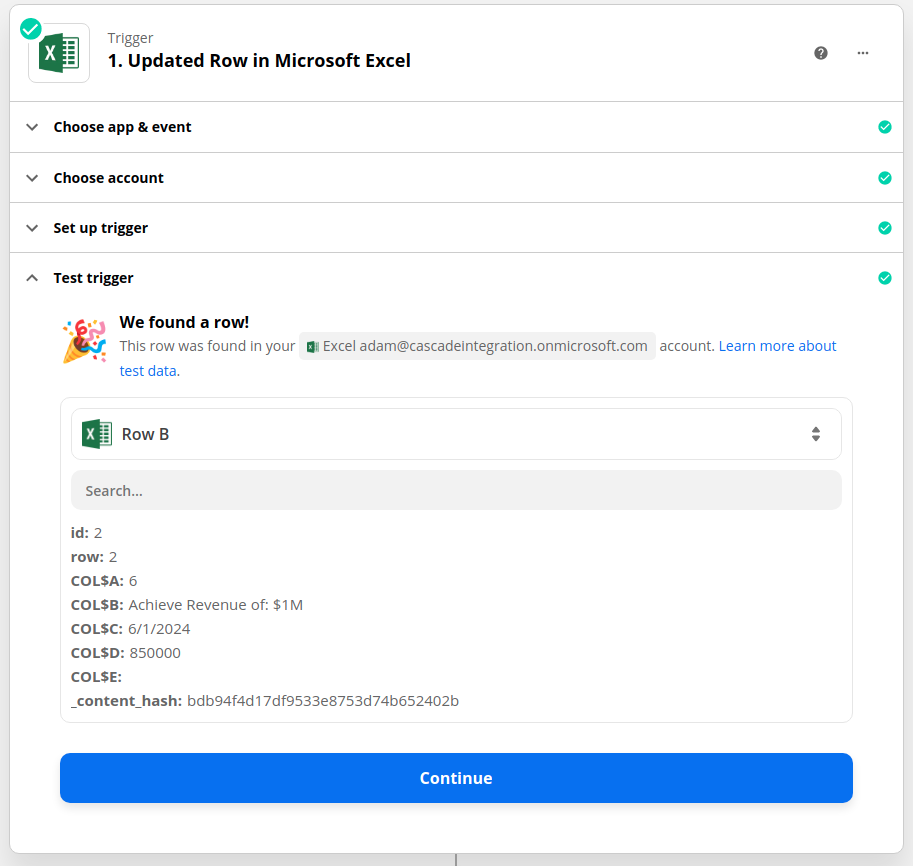
Click 'Continue', then 'Test trigger'. Zapier will test the trigger by selecting a row from your sheet.
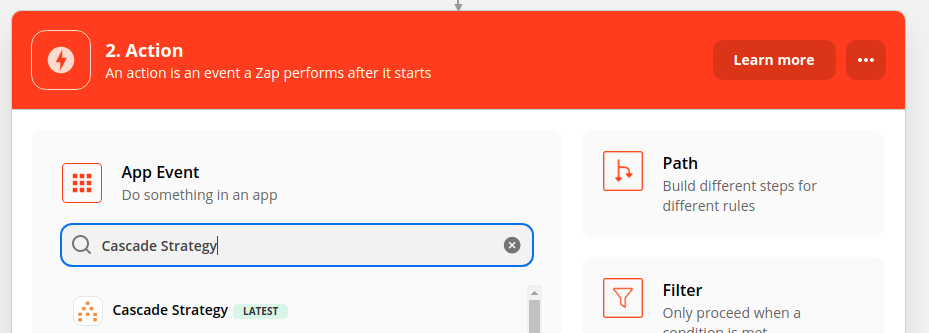
2. Define the Zap Action:
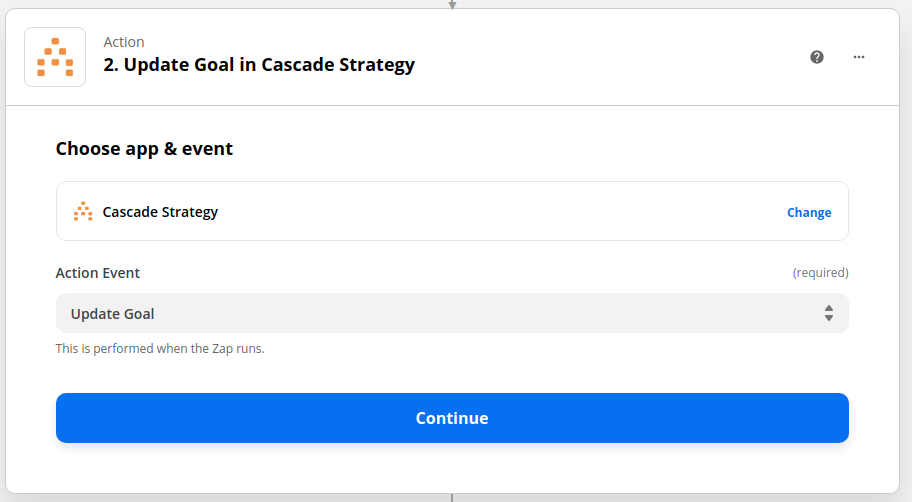
Now you will add the action, or what your Zap does after it is triggered. Add Cascade by searching for 'Cascade Strategy' and selecting it.
Next, select 'Update Goal' as the Action Event, or 'Create Goal History' if you're looking to add historical data and use the 'Date' column of your spreadsheet. Click 'Continue'.
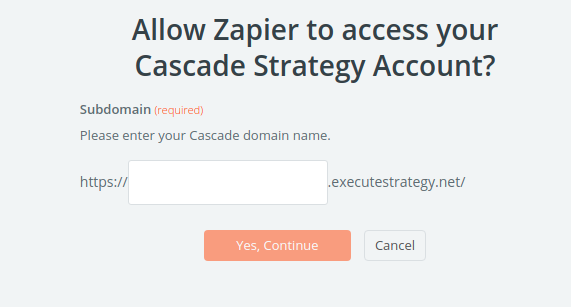
You will now be prompted to connect your Cascade account. Click the 'Connect an Account' button and '+Connect a New Account'.
Enter your Cascade instance domain name, allow the permission request, and log in to your account to connect.
We are now going to define the Zap Action. This is what you want your Zap to do after a cell value is updated in the Trigger Column.
Click on 'Goal', wait for the dropdown to load (this may take a minute), click 'Custom', and select the column containing the Goal ID. In the case of the spreadsheet shown above, this will be column A. Zapier may also show the column name, so simply click on 'Goal ID' if that is the case.
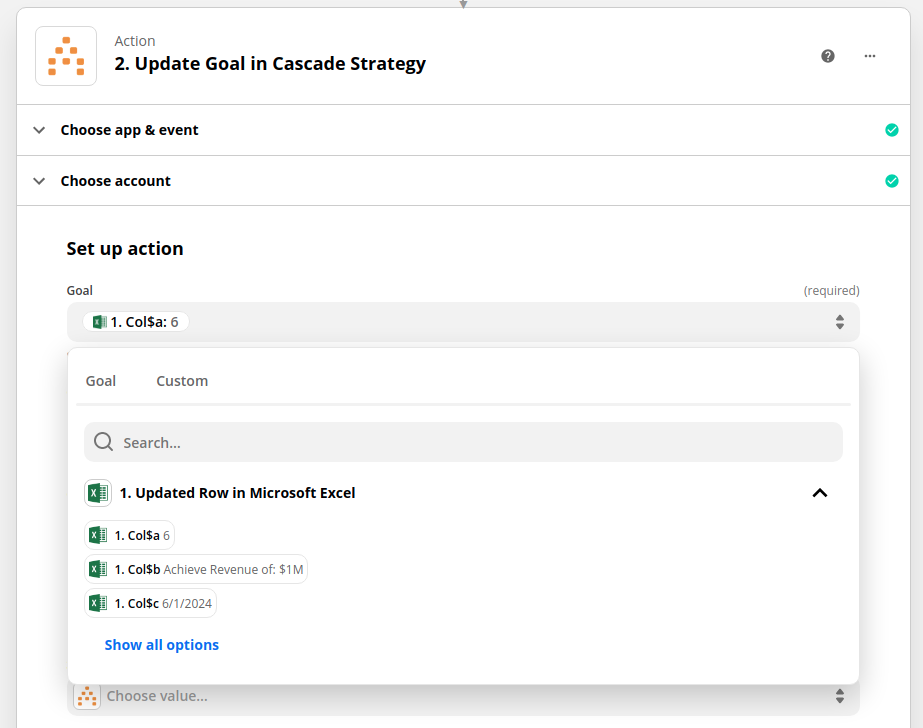
The only other field that needs to be selected is 'Progress' column for Current Progress. In the example file above, this is column D. All other fields can be left blank.

Note: if you selected 'Create Goal History' for your action, you will also need to select the 'Date' column.
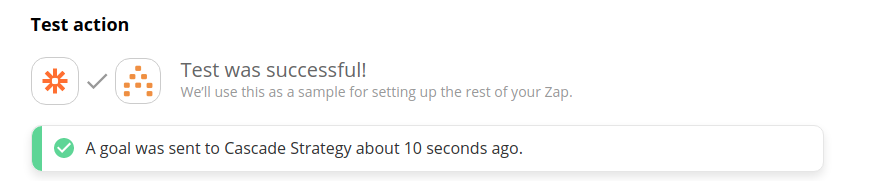
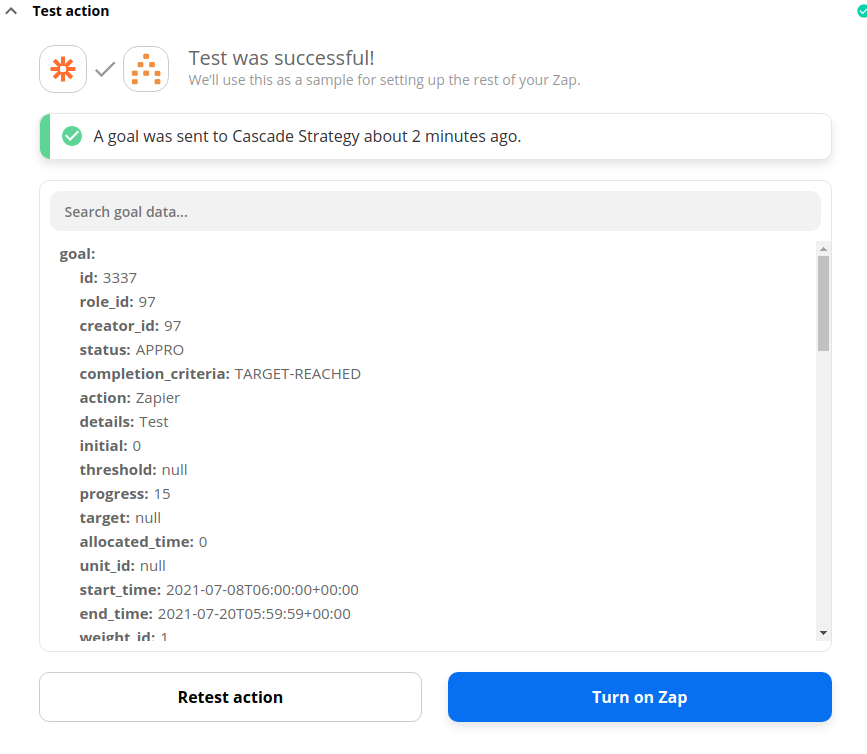
Click 'Continue', then test your Zap by clicking 'Test & Continue'. If your test was successful, you can see the goal progress has been updated in Cascade. Know that
3. Turn on you Zap
The last step is an easy one: turn your Zap on!
Note: It may take a minute or two before updated Excel progress values are shown in Cascade.
Congratulations, your Cascade goals are now being automatically uploaded with your Excel data!
Common Problems:
Q: My test with Zapier was unsuccessful and it returned error message 'You are not permitted to use this action'.
A: This is due to your Cascade account does not have the power to update on this goal. To be able to update on a goal, you need to either have appropriate permission to access or is a owner or co-owner of the goal.
Q: My test with Zapier was successful but my goal was not updated in Cascade.
A: Check the tracking type of your goal. If a goal is auto-tracked, its current progress will not be updated by Zapier. Change its tracking type to 'Manual Tracking' and run the test again. Know that it may take a few minutes to see the updated value in Cascade.