.png?width=200&height=80&name=Classic%20Experience%20(1).png)
Adding teammates to Cascade is a breeze! The quickest way to add someone to your team is to click the invite users icon in the bottom-left of your screen from any page in Cascade. Remember that these users need to have roles added before you start inviting them.
Remember: No User can log into Cascade unless they have a Role as well. Unique roles are required because in Cascade Goals are attached to Roles (rather than being attached to Users).

All you need to do is type their email address and press Enter. You can see how many available seats you have remaining on your subscription in the left-side panel.
If you have Organization Permission or Fast Deployment is turned on in your system settings, you'll be able to invite users even after you have reached the amount of seats purchased for your account. In that case, you will be shown estimated charges before you send out your invitation(s).

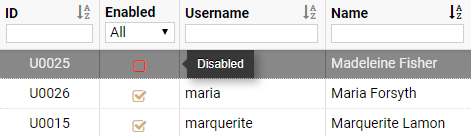
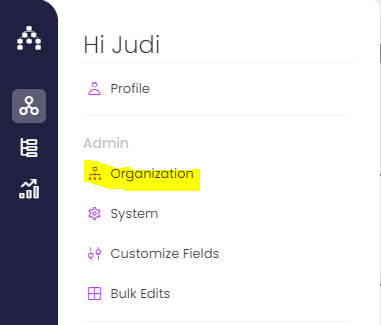
After you click Invite, the email will be added to the user list found on the Profile (your initials) > Organization > Users page. From the user page, you can edit their details by double clicking their name, or clicking the pencil icon to bring up the edit options.
You can also go to the Roles page to edit their role name. On the Permissions page, you can edit the permissions each user has.
Note: For a User to be able to log into the system they must be assigned to a Role and be enabled. To invite them to access the system, you must notify them by clicking the email icon on their line.
Quick tips on Permissions:
-
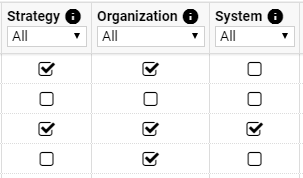
Strategy: People who should be able to build, adjust, or add progress updates on anything to do with all strategic plan data in the system should be given Strategy permission. This is essentially "full access" for all non-admin activities. People with Strategy permission can also see all private goals across the system, regardless of where they are.
-
Organization: Gives access to the Profile > Organization page. Give this permission to your admins for user and organization structure management.
-
System: Gives access to the Profile > System page. Give this permission to your admins for settings and security management (such as on/off switches, SSO).
-
No permissions? The vast majority of users tend to not have permissions at all. Anyone without permissions can still always make updates and changes to goals they own, can add goals to the system and align them, and can use all of Cascade's core features. Permissions are not needed at all most of the time.
Our original article on permissions can be found here.
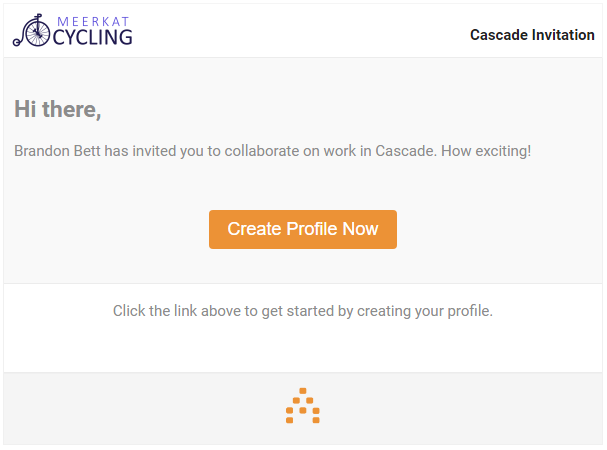
Team member receives the email:
Once your team member receives the invite email, they'll be able to start accessing Cascade. To start, they'll set up their profile and set a username and password.
Remember, their username is automatically their email unless you change it in the Admin settings.
How to cancel an invite?
To cancel an invite and free up a seat on your plan, simply archive the invited user in the Profile > Organization > Users table. Archiving an invited user will make the link sent to them in the original email expire. You can always access this Archive feature for any enabled user.
How to resend an invite for an expired link?
To resend an invite, find the pending invite user from the Profile > Organization > Users table and click on the 'Notify' icon.
You can also reactivate a user that has been archived in the Profile > Organization > Users table. Unarchiving will send them a new email with a valid link to create their profile.
Trouble receiving the invitation email?
The first thing to check is your spam email folder for an email from cascade@emails.executestrategy.net. If you still have not received an email, double-check that emails are turned on for your Cascade account. You or someone with Cascade Admin/Organization permissions can do this by going to Profile > System > Settings and toggling Emails to ON.

Where can I see all of my billable users?
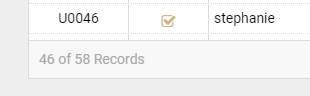
You can find your entire current user list under Admin > Organization. To view only billable users on this page, set the "Enabled" drop-down menu to "Yes", or just look only at users that have a checked box in the Enabled column.

At the bottom of the screen, you will see the number of billable users vs. total users.
[End of main article]
Creating Users from Scratch
Remember that all users must have an unappointed Role already created that you can assign to your new User. You will not be able to add a User without first creating their individual Role.
Creating Users
To create a new user in Cascade go to Profile > Organization and you will automatically land on the Users tab.
Click the “Add User” button in the top right-hand corner – the User pop up will then appear with 4 tabs to work through described below:
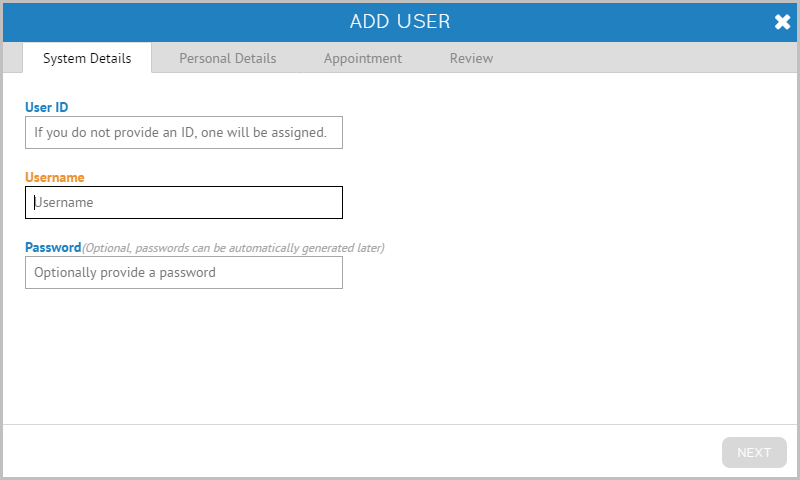
System Details
Create a unique ID for this User, or leave it blank and the system will create one. Then create a Username and password (optional) for them to log in.
Note: if you don't create a password, they'll be able to create their own when they are invited to their new Cascade account.
Tip: People often use an email as the Username to make it easy to remember!
Personal Details
The Personal Details tab will require you to input the Users
-
First name
-
Last name
-
Email address
Appointment Tab
In the Appointment tab you'll see a drop down menu, where you will see all the unappointed Roles in the system. If you don't see any Roles in the drop down, this is because you need to create a Role to assign the user to BEFORE creating the user; read here for creating Roles in Cascade.
Note: for a User to be able to log into the system they must be assigned to a Role and be enabled. To invite them to access the system, you must notify them by clicking the email icon on their line.
Review Tab
Once on the review tab, simply click save, and your new User will be created.
Note: new Users will be disabled by default. If you would like the User to have log in access to Cascade, make sure you tick the box 'Enabled' for the associated User.

You can also send the Users welcome emails by clicking on the mail icon next to the User's profile or 'Notify' button on the top right hand of the page, under the three dot menu. The welcome emails will contain a link for the User to log in to Cascade and reset their password.