.png?width=200&height=80&name=Classic%20Experience%20(1).png)
Note: Goal set up is defined by the Templates on your Strategy Model. Make sure you have created all your Templates, defined their necessary fields and structured your Strategy Model hierarchy before adding Goals to your plan.
You can add Goals from three places:
-
Add button on the planner page
-
+Add button in context on other goals (automatically adds alignment)
-
My Goals
Taking one of these actions opens our new Goal Designer. Start by inputting your Title, then select your Template, Start & Due Date and choose the Owner of the goal.
There are then 3 sections to complete:
-
Define Details
-
Customize Tracking
-
Determine Alignment
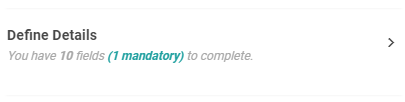
Define Details
Detail fields are dependent on the Template you have selected (Note: Attributes within details can be edited within your Strategy Model & Templates).
You need to complete all mandatory details before you can save your new Goal. The tab will display the number of fields to be defined, and tell you how many (if any) are mandatory.
The system will also let you know what needs to be completed when you try to save.
Customize Tracking
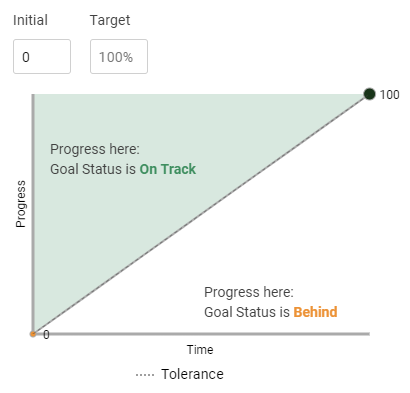
The Tracking tab allows you to choose your Tracking Type, Initial & Target, Direction and Milestones for your Goal. Tracking set up determines how you measure the progress of your Goal, and which status that progress will display.
-
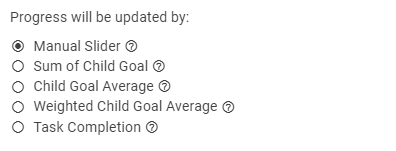
Choose your Tracking Type by deciding how you want your progress to be updated. Learn more about types of tracking updates here or by clicking the ?
2. If relevant, input an initial, target and unit or skip and it will default as 0-100%
Advanced Tracking options
You can further refine how your Goal's progress will track with 3 different advanced settings. You should use these when you want to determine specific bounds for how your updates will impact the progress and status of your Goal.
-
Tracking Direction - determines whether your goal's progress should aim to be higher, lower or exactly the same as your chosen target. E.g. For 'Decrease wait time' you would choose Lower is better because you are aiming to reduce your progress value.
-
Target reached vs Target & Due Date reached - determines whether you want to mark the goal as complete when the target is reached, e.g. target is 3 defined projects. Or if you want to continue working on the Goal beyond its target until the final due date, e.g. target is $100k profit but you want to track it until the end of the due date in case you earn more.
-
Update Frequency (optional) - creates milestones (steps or linear) for your goal so that your progress/status will be determined by updates for specific time periods within your start and due date (rather than progress being calculated equally over your goal's time span).
Determine Alignment
If you have added your Goal in context from the Planner, this will already be selected and you can go ahead and save your Goal.
If added out of context it will be empty and you will need to know which Plan, Focus Area and/or Goal you want your new Goal to sit under by simply searching in the drop-down.
Saving your Goal
You're done! 🎉 You can now choose to 'Save As Draft' if you're adding from the Planner (and if you are not ready to launch your plan yet), or go ahead and 'Launch' to start updating progress and seeing it in your reports.
Note: If you 'Save As Draft' you can activate it later within it's sidebar by clicking 'Activate' or on your Planner by clicking through 'Actions > Launch and Communicate'
Adding Goals from anywhere
You can add Goals to Cascade from any screen in the system using the "Add Goal" button at the top right of the screen. Just look for the "+" sign!
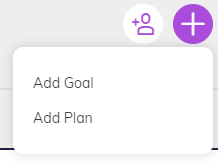
Clicking this will open the Goal Designer from wherever you are. Now we can add important work to Cascade whenever it's needed, at any time.